Magento 2
Purpose#
This is the official documentation for the Magento 2 Latitude Payment Extension. This module is tested and compatible with Magento 2.3.5 onwards and up to Magento 2.4.5 Enterprise edition and Community edition. Once installed, your Magento 2 site will have the ability to process Latitude Interest Free & GEM Interest Free transactions.
Latitude/GEM Interest Free API Credentials#
Merchants using Magento 2 will need credentials which are required for configuration:
| Magento Merchant ID | Authorised Magento 2 Merchants are identified by Latitude using a unique Merchant Identifier. If you have not received your Merchant ID or Secret Key please contact your Latitude Financial Services representative. |
| Secret Key | Authorised Magento 2 Merchants are identified by Latitude using a unique password. If you have not received your Merchant ID or Secret Key please contact your Latitude Financial Services representative. |
Installation Process#
Option 1: Composer/Marketplace (Recommended)#
Composer installation tested on Magento 2.4.x, if you have problem using this installation for older Magento 2 versions, please refer to the Manual Installation.
Our Magento2 extension is an Adobe-approved extension and is available on Magento 2 Marketplace.
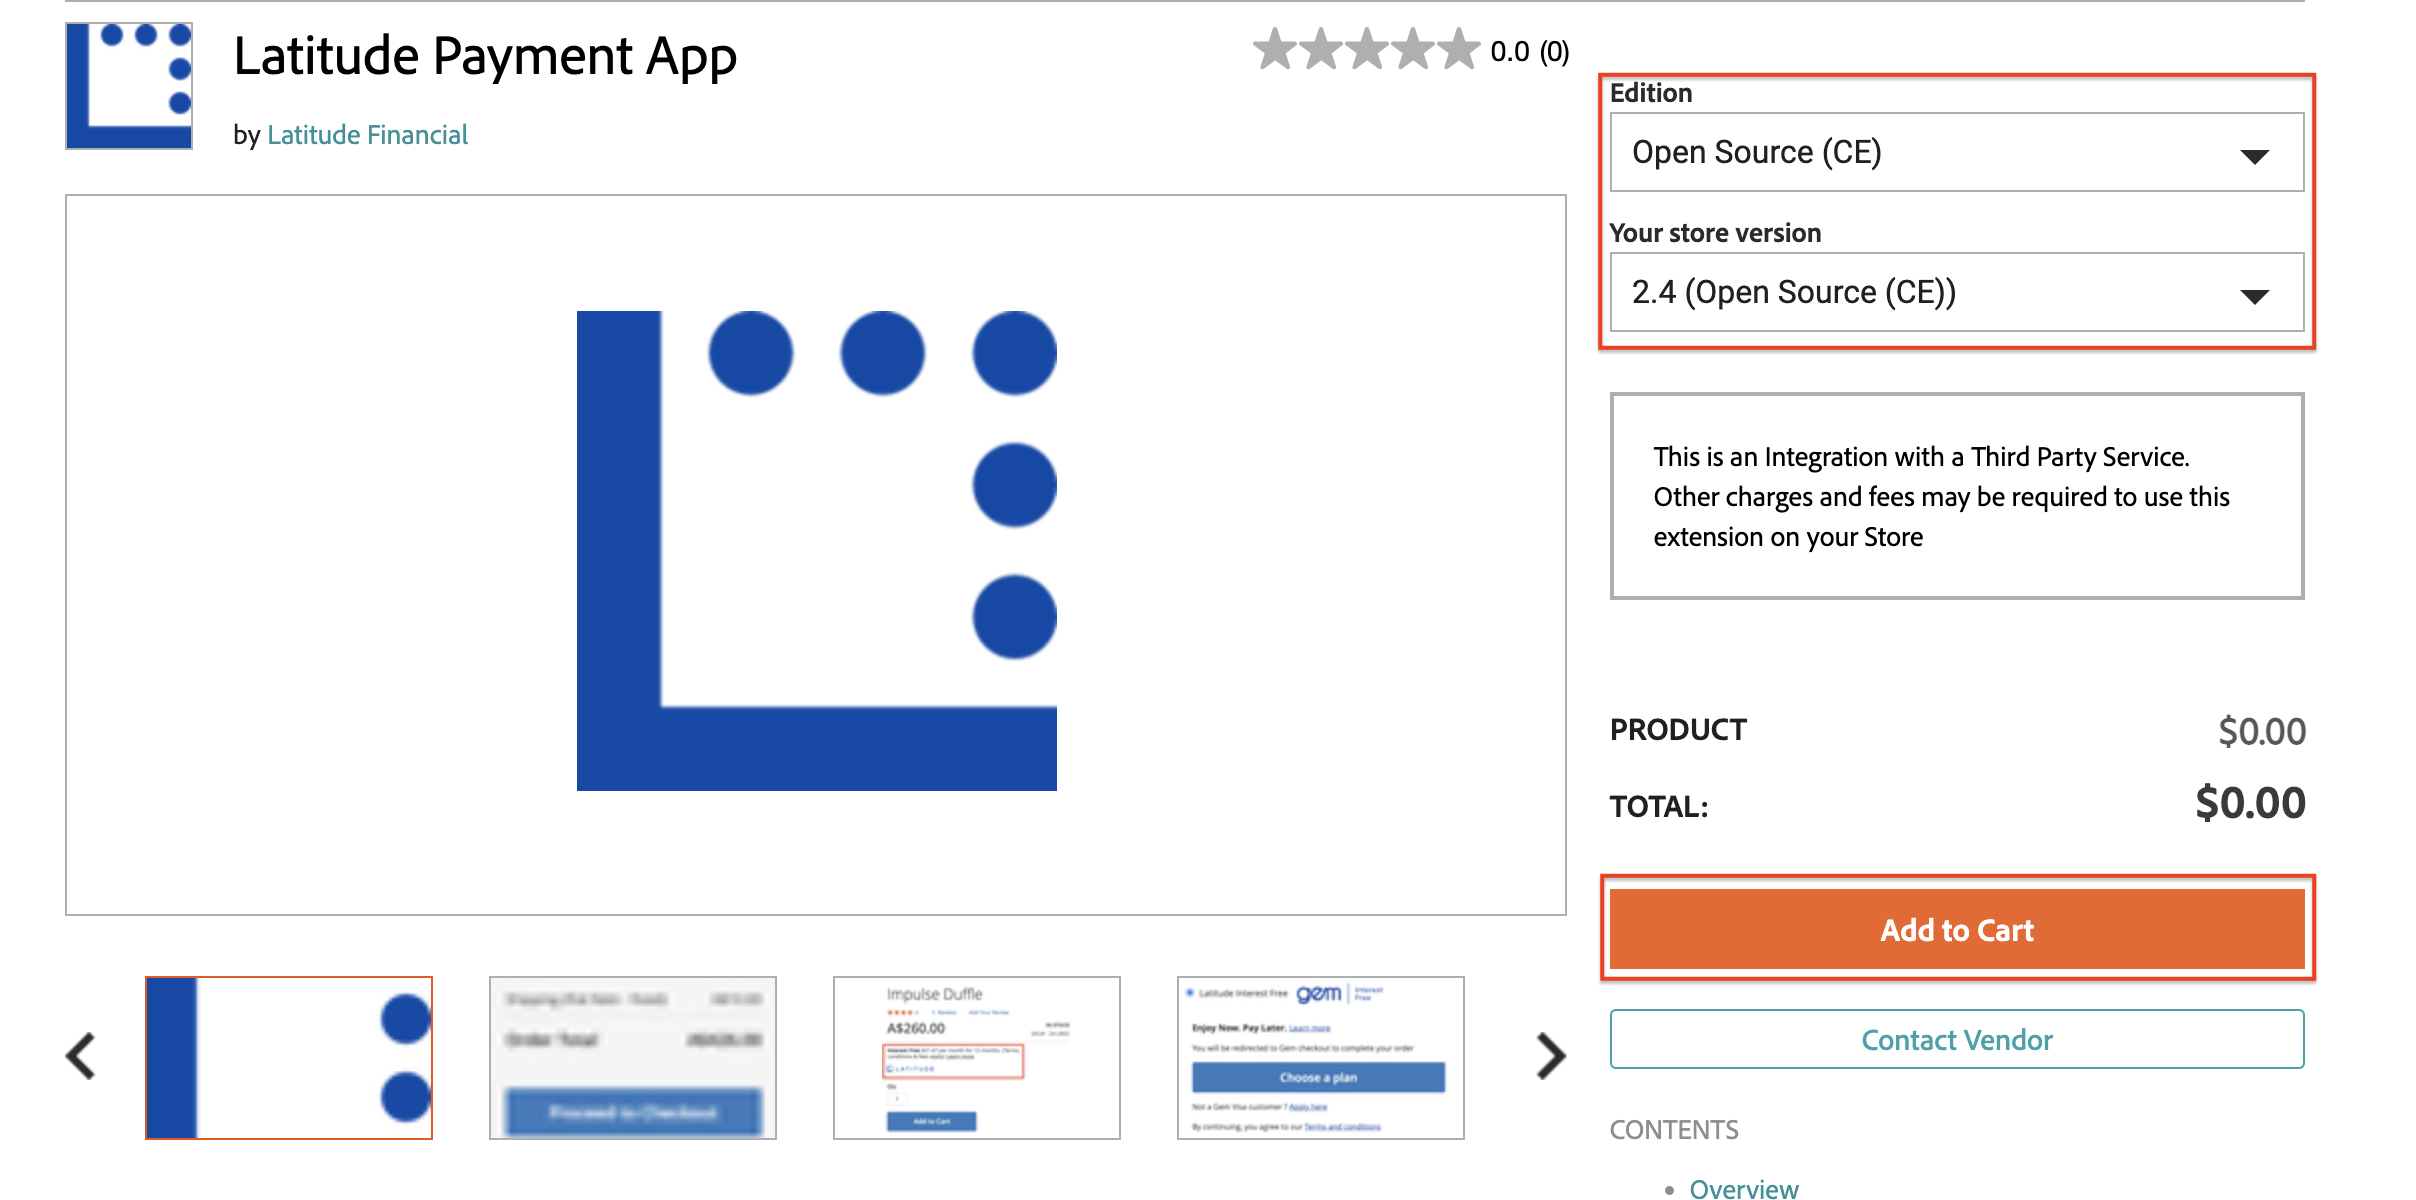
There you can get more details on our extension (extension specifications, contact details, etc.) and follow the marketplace installation experience.
Alternatively, simply follow our composer installation guide below to install and activate our extension properly:
- Open terminal and navigate to Magento 2 root directory, for example:
- Run:
- Configure the module on Magento 2 Admin Panel.
Option 2: Manual#
Download the zip file from the latest release on GitHub
Open terminal and navigate to Magento 2 root directory, for example:
- Copy the content of the unzipped folder and paste it into
app/code/LatitudeNew/Paymentfolder in the Magento 2 root directory:
- Run:
- Configure the module on Magento 2 Admin Panel.
Configuration#
Payment Method
- Login inside the Admin Panel and proceed to Stores > Configuration > Sales > Payment Methods
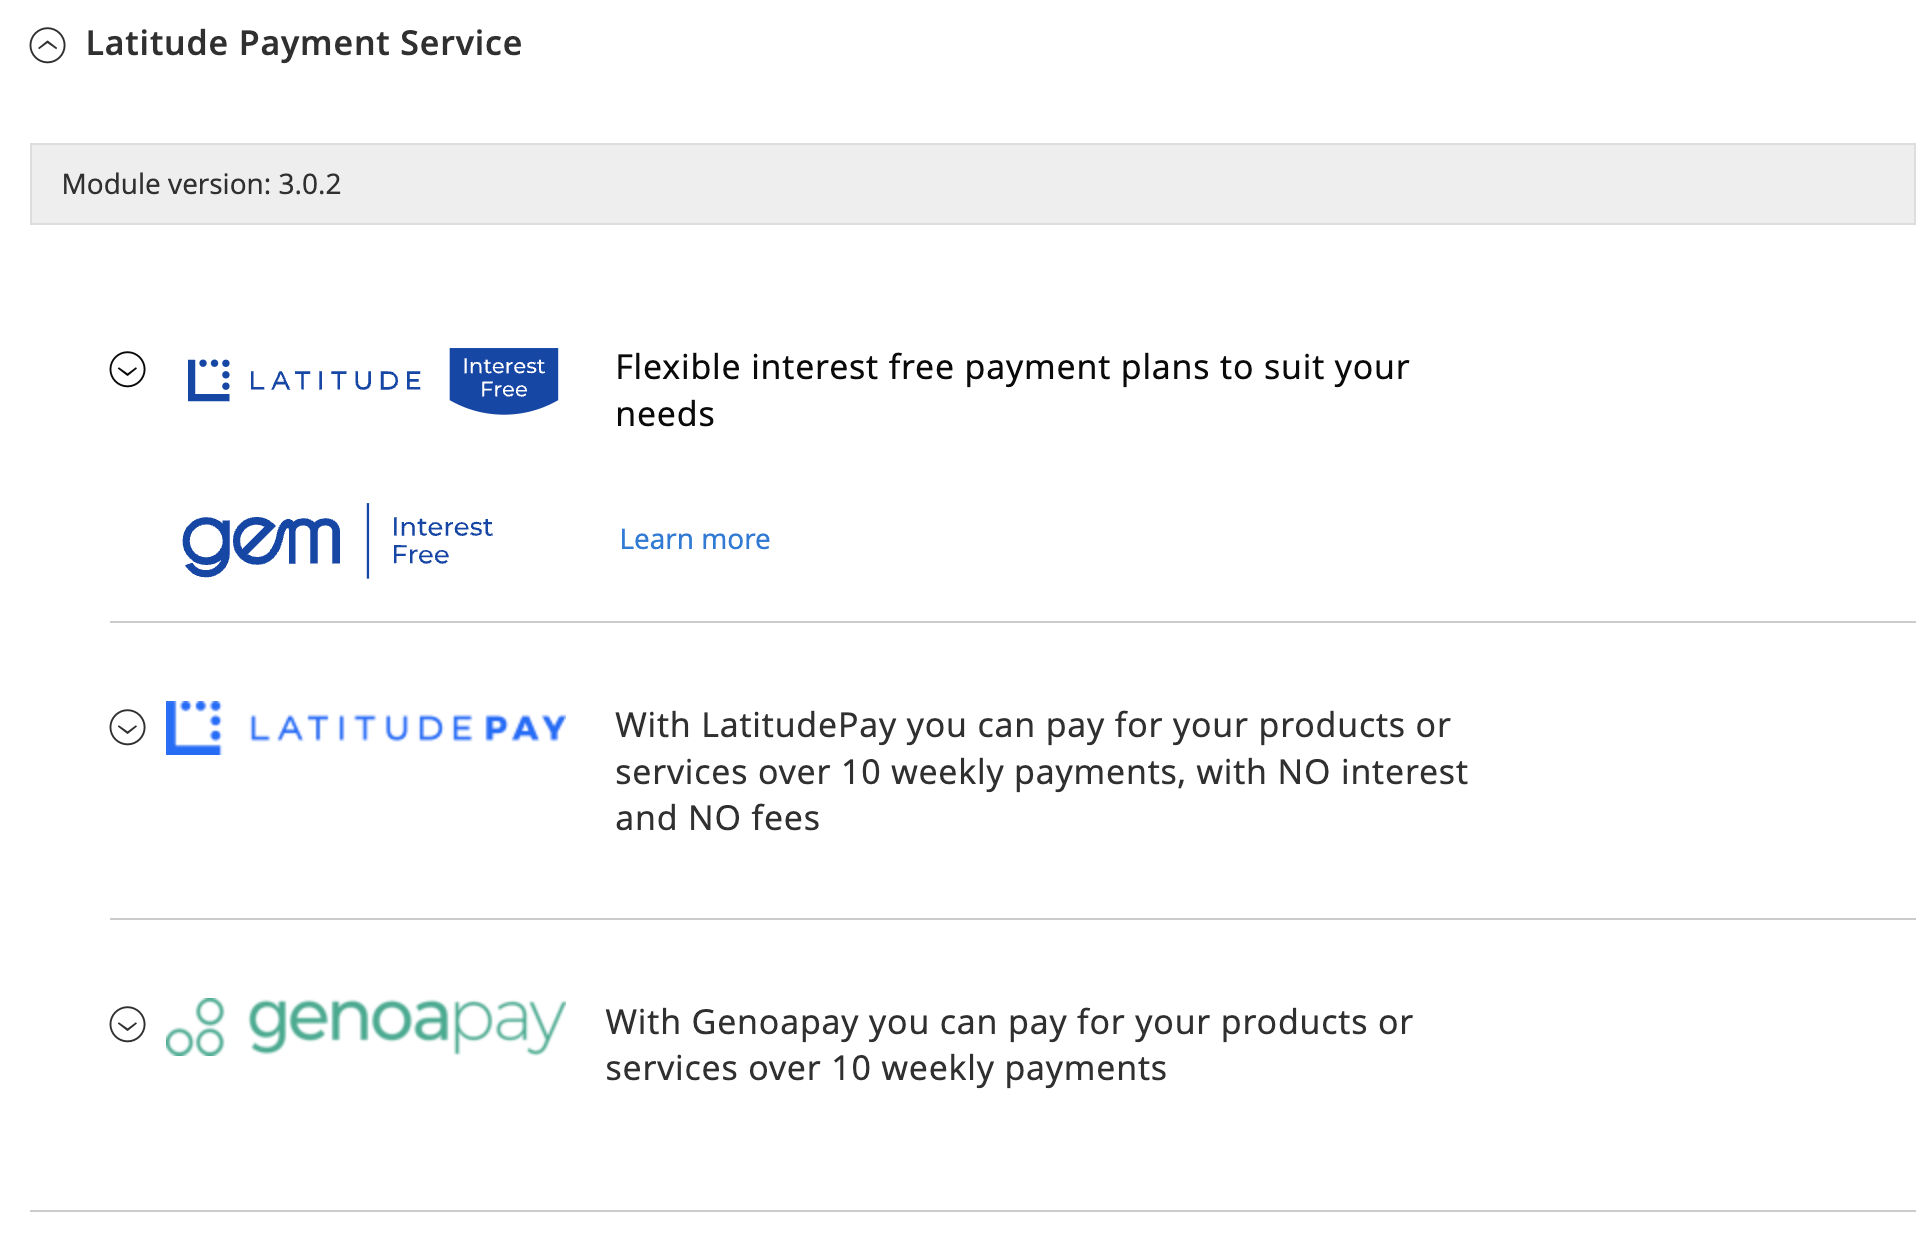
- There you will find LatitudePay, Genoapay, Latitude Interest Free and GEM Interest Free payment configurations under OTHER PAYMENT METHODS -> Latitude Payment Service subsection:
If the Payment Module Panel is not visible in the list of available Payment Methods, you will need to clear Magento Cache and try the page again.
Proceed back to Stores > Configuration > Sales > Payment Methods and under the payment method click on one of the payment methods to expand the available settings
Latitude/GEM Interest Free Config#
The following options are available for you to customize:
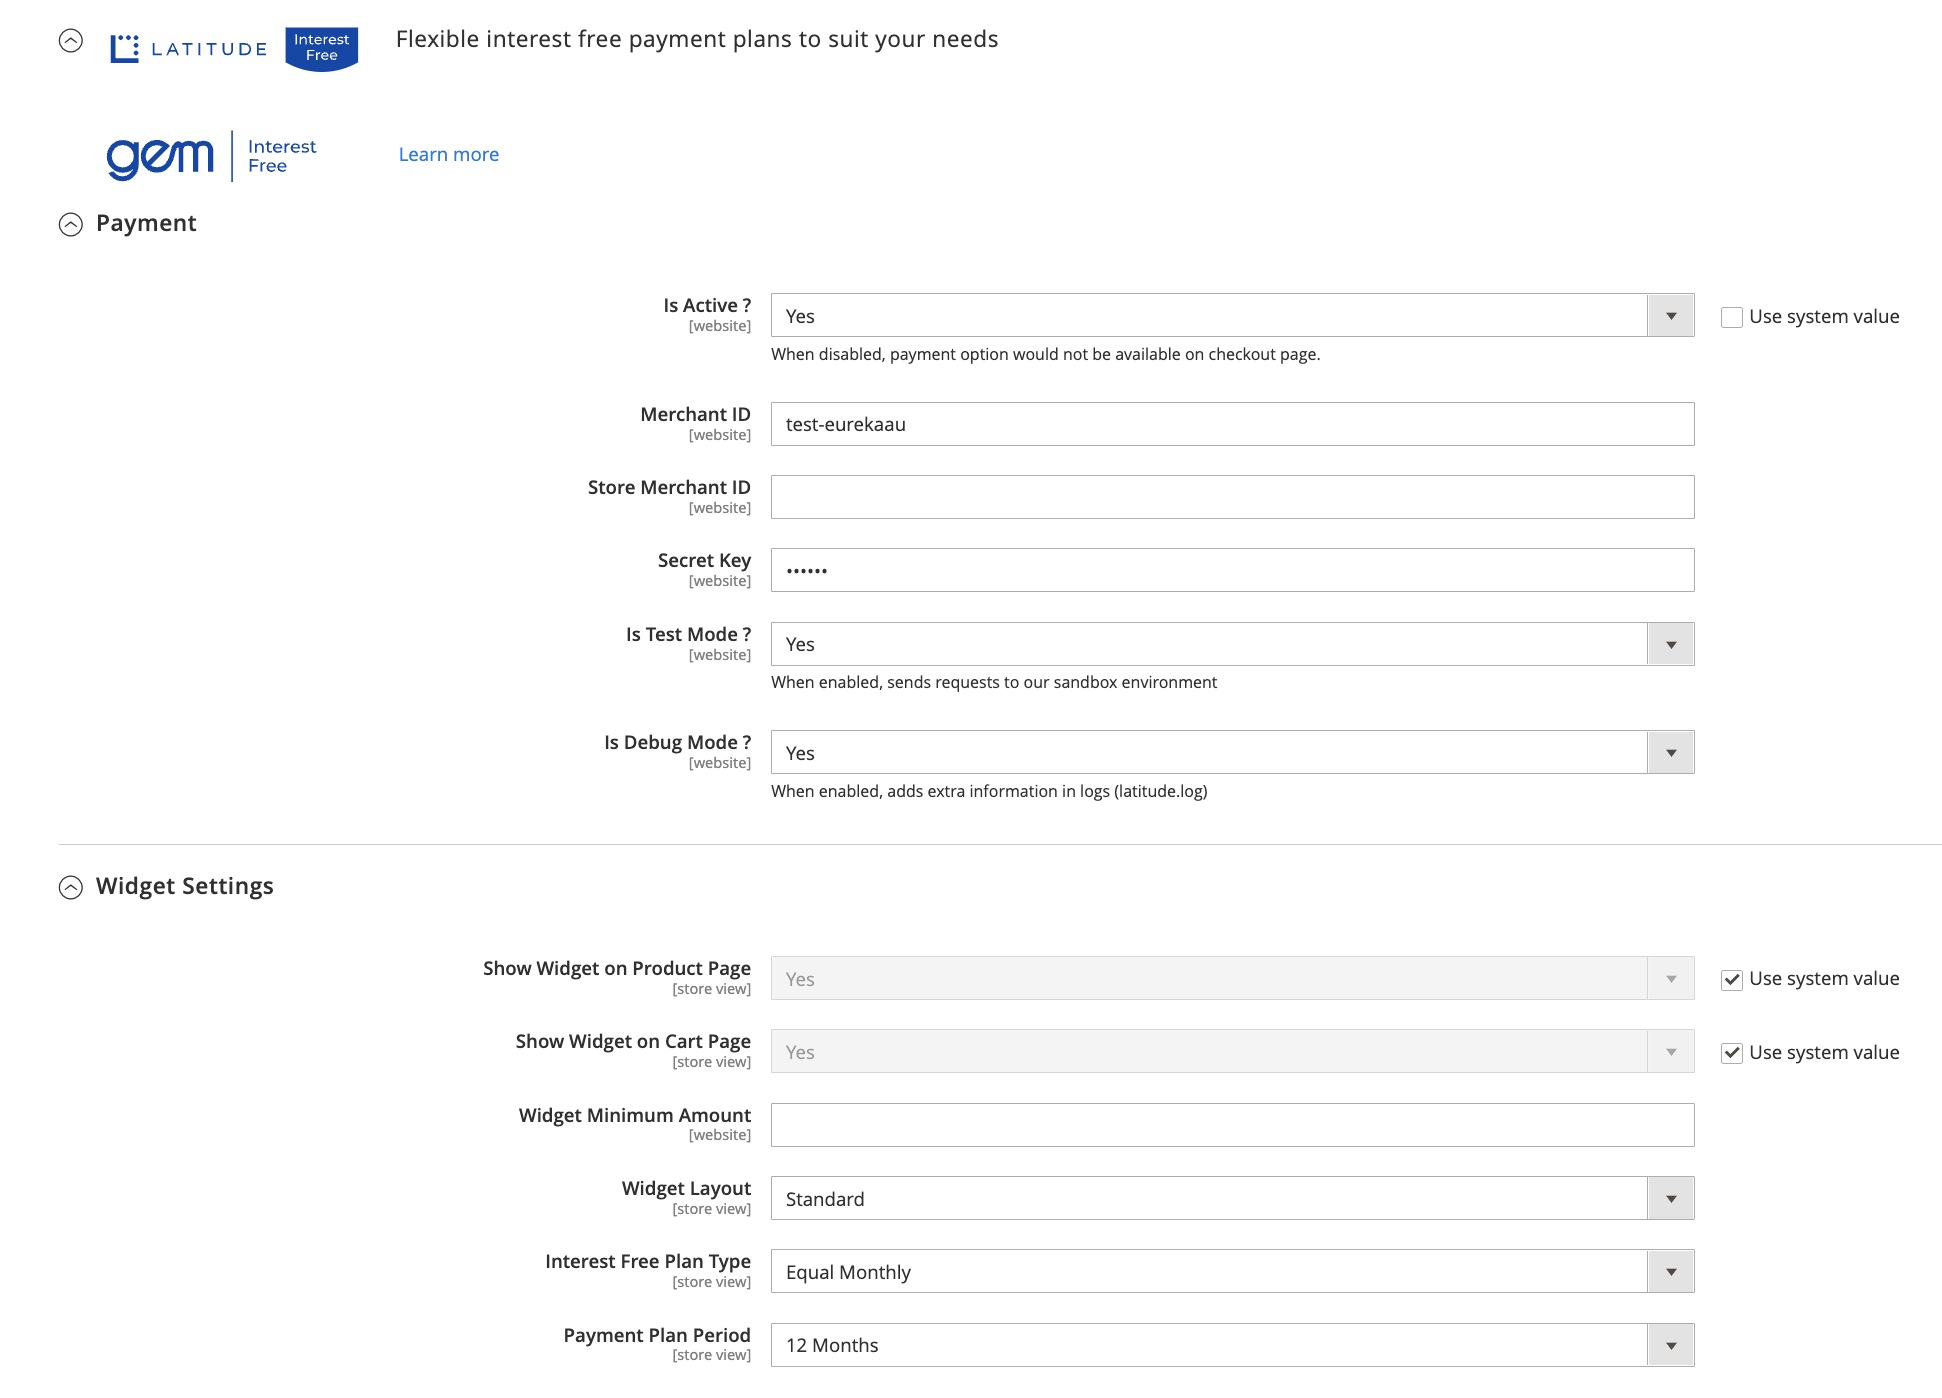
Payment
| Field | Description |
| Is Active | Activates the gateway on the store (Yes/No). |
| MerchantID | Enter the credentials sent by LFS. |
| Secret Key | Enter the credentials sent by LFS. |
| Is Test Mode | For Development/Sandbox/Test, use the TEST credentials and set Test Mode YES For Production, use the PRODUCTION credentials and set Test Mode NO |
| Is Debug Mode | Set Yes to log activities involving this payment |
Widget Settings
| Field | Description |
| Show Widget on Product Page | If activated, widget will be visible on product page |
| Show Widget on Cart Page | If activated, widget will be visible on cart page |
| Widget Minimum Amount | Minimum price point for the widget to be visible (Only applicable if Plan Type is "Equal Monthly") |
| Widget Layout | Please refer to the Widget Playground to sample the layout options |
| Interest Free Plan Type | Please refer to the Widget Playground to sample this option |
| Payment Plan Period | Please refer to the Widget Playground to sample this option |
On every save on the config, you will need to clear Magento Cache in order for the changes to take effect.
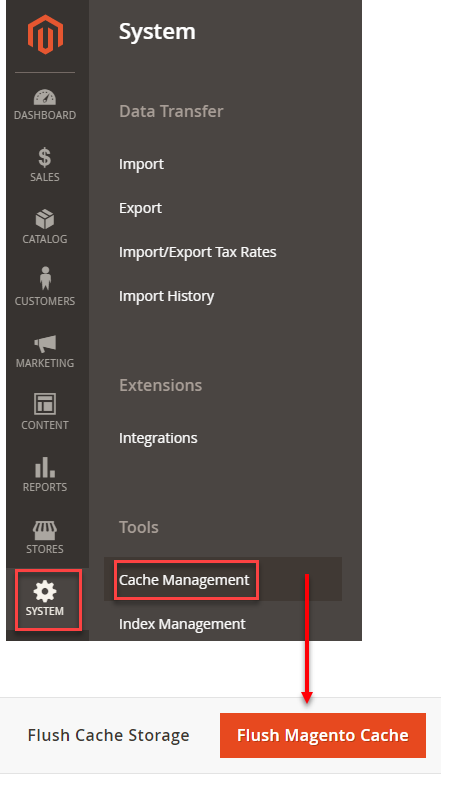
Clearing Magento2 Cache#
Go to System > Cache Management and clear Magento Cache by clicking on Flush Magento Cache
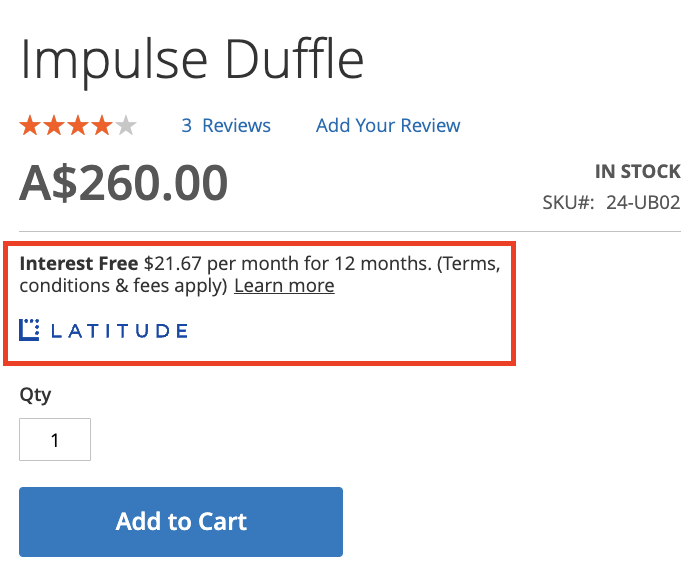
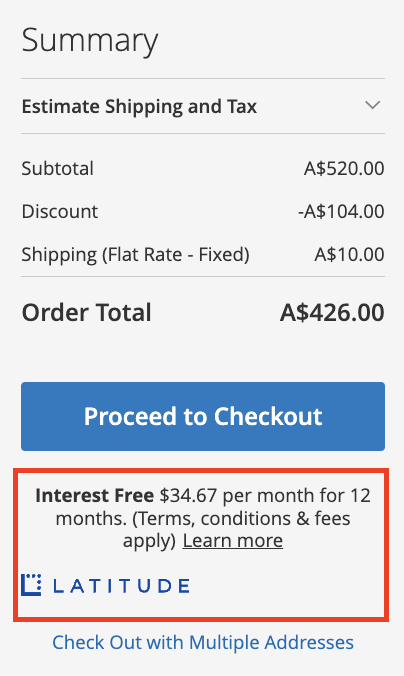
Interest Free Widget on Product and Cart Page#
Please refer to the Widget Playground to sample the layout options
- Inside the Admin Panel, proceed to Stores > Configuration > Sales > Payment Methods > Latitude Payment Service > Interest Free > Widget Settings and select Yes on the Show Widget on Product Page option to show this on your site's Product Page
- Inside the Admin Panel, proceed to Stores > Configuration > Sales > Payment Methods > Latitude Payment Service > Interest Free > Widget Settings and select Yes on the Show Widget on Cart Page option to show this on your site's Cart Page
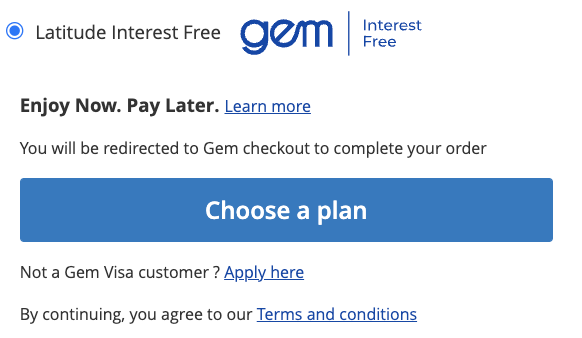
The Customer’s Experience#

- Customer views listing on merchant’s website, adds item(s) to cart and proceeds to checkout page. On checkout page, the customer selects Latitude Interest Free or Gem Interest Free and clicks on “Choose a plan"
AU

NZ
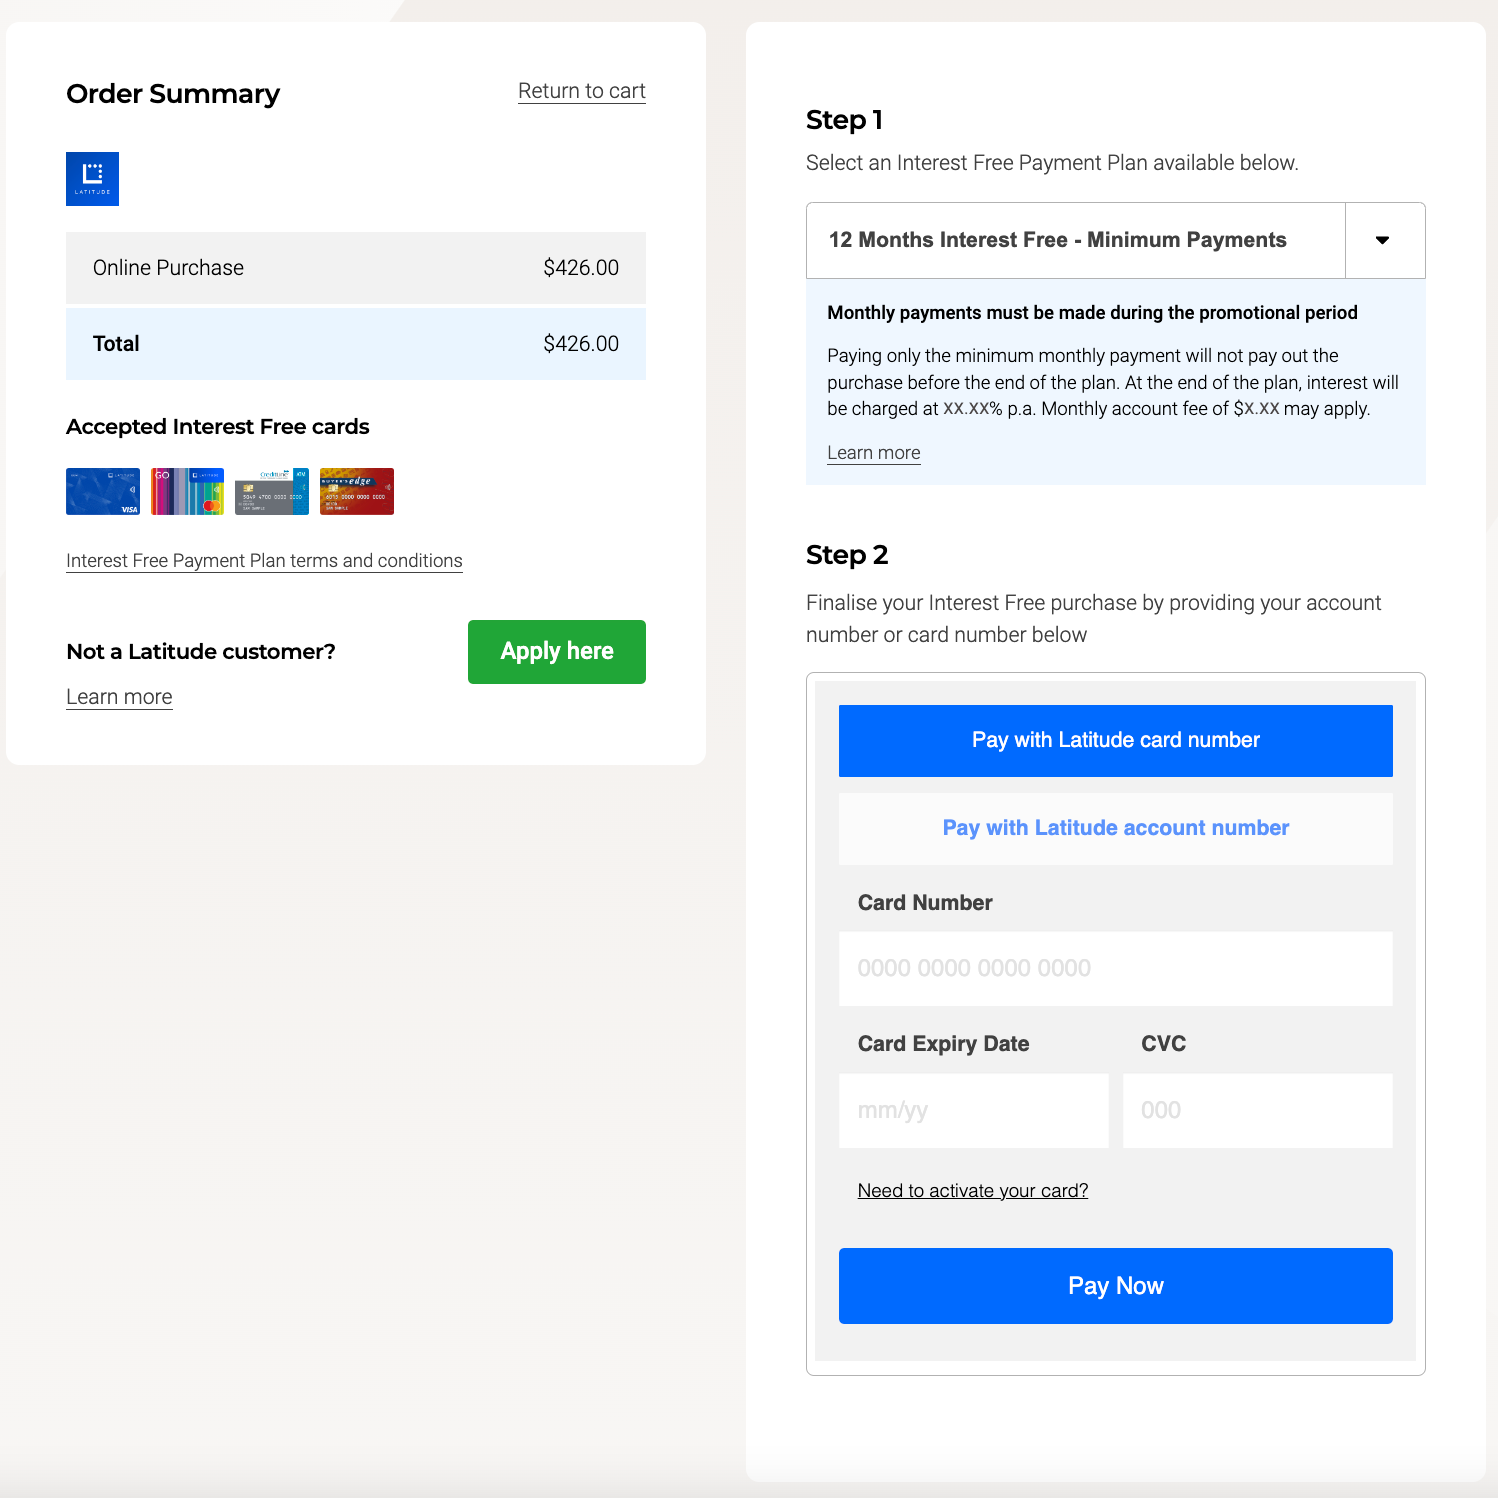
The Extension would then initiate offsite checkout and redirect Customer to Latitude Checkout. Our extension initiates request by sending a POST request to [Checkout Service] /purchase endpoint
Latitude Checkout shows promotions and loads payment page. Customer then selects from a list of valid promotions (6 months or 12 months etc.) and enters their card details.
Latitude Checkout processes payment and notifies Magento Extension as an async callback. This step converts a quote to order in Magento.
Latitude Checkout redirects the Customer back to Magento. Magento Extension handles the redirect and shows order confirmation.