PrestaShop 1.7 Integration
Announcement
Supported Countries#
Australia and New Zealand
Supported Products#
LatitudePay/LatitudePay+ (Australia) and Genoapay (New Zealand)
For New Zealand merchants (with NZD as default currency), please use Genoapay instead of LatitudePay for every step described on this page.
Locate Your LatitudePay Merchant API Credentials#
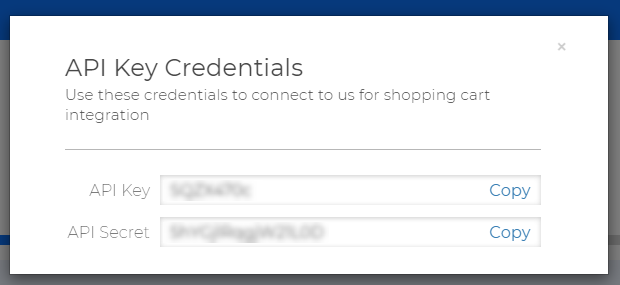
To integrate with LatitudePay/Genoapay, you will need to obtain the following API Credentials:
- API Key
- API Secret
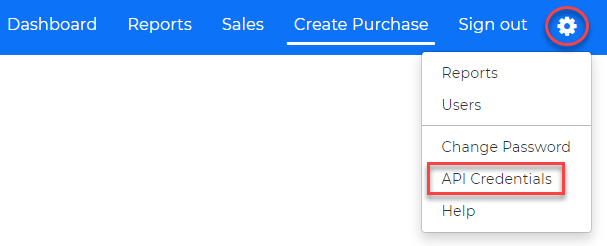
These Credentials are found on the settings dropdown on your Merchant Portal:
- LatitudePay Portal - https://app.latitudepay.com/merchant/login
- Genoapay Portal - https://app.genoapay.com/merchant/login
If you have any issues locating these, please contact us at integrationsupport@latitudefinancial.com
Installation#
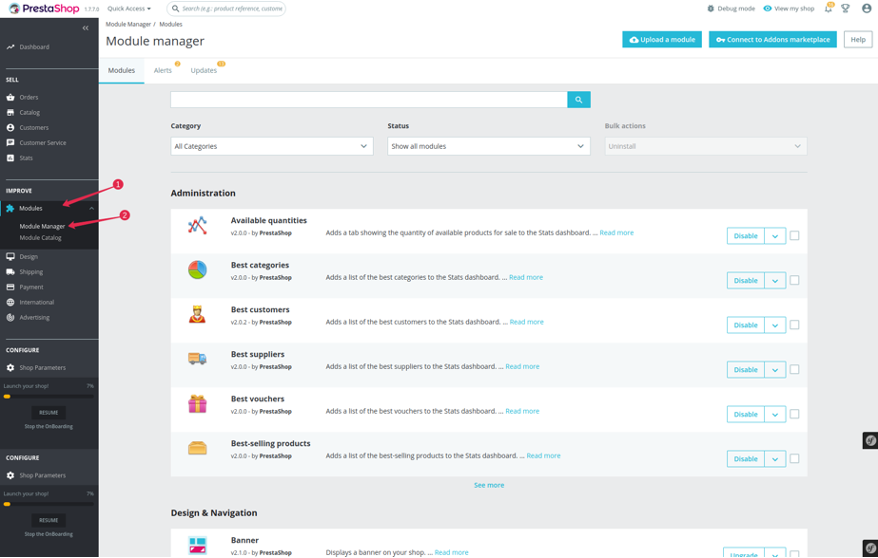
- Login to the PrestaShop admin panel. Proceed to Modules and then Module Manager from the side panel and click on it.
Then, download the latest version of the plugin here. Select the .zip file from the latest version of the release.
Proceed back to PrestaShop, and select the Upload a module button. You will then see an upload popup display. Click on the Select file button, then select the zip file you downloaded in the previous step (or you can drag it into the upload area). Once the file is added, the installation will be triggered automatically.
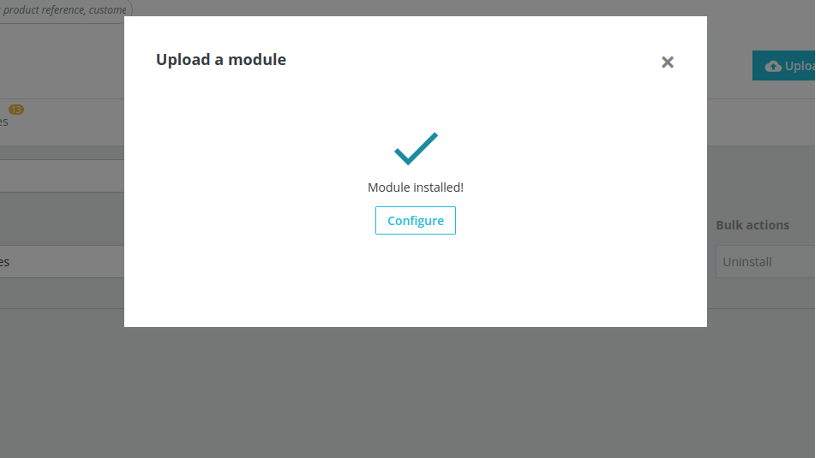
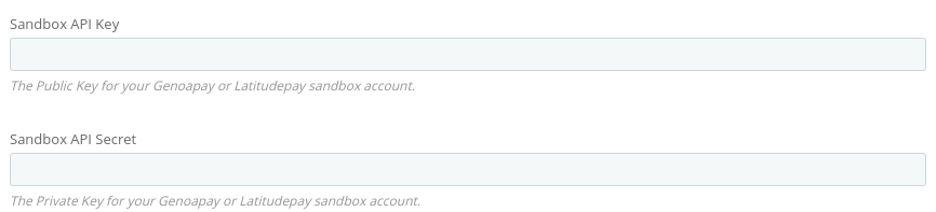
- Once the module is installed, select the Configure button. On the module configuration page fill in the API key and API secret, then hit the Save button. We do have the ability to let you test on our UAT site if you choose to prior to putting on your production site. If you wish to do this please use this url to send a request to create a sandbox account. Once this is done you can put these sandbox API keys in the fields shown below.
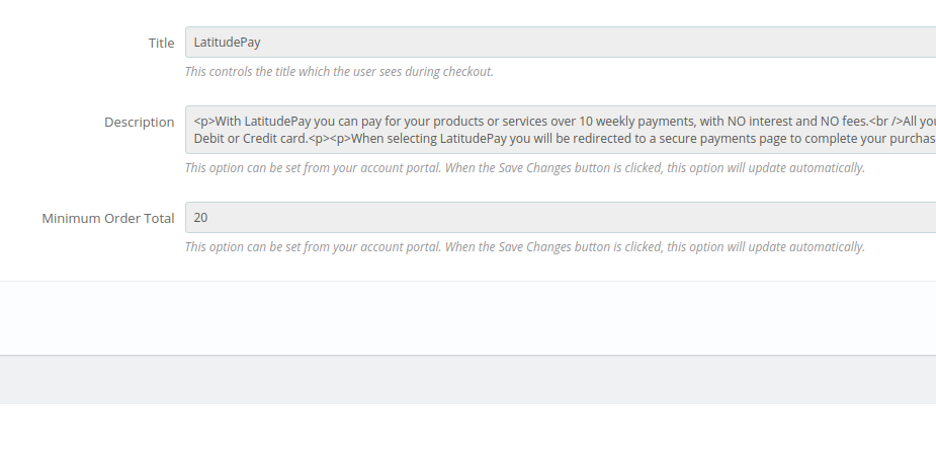
- You will see some of the information has auto-populated from your LatitudePay Account, which looks similar to the following screenshot.
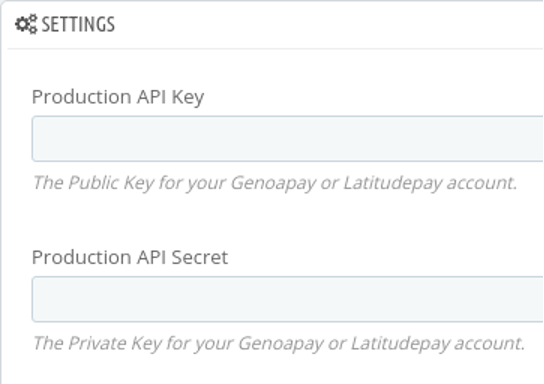
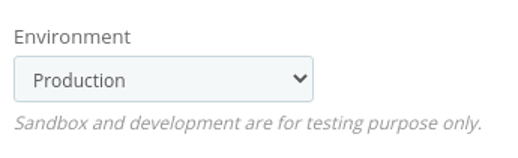
- After you finished any testing via our sandbox account, if everything went well and you are ready to use it in the production environment, change you API key and API Secret to the production ones. Then change the Environment value to “Production”.
LatitudePay+ & Co-Presentment#
Approved merchants will have the option to offer their customers with either LatitudePay+ or our Co-Presentment Product offering in the admin panel. Co-Presentment will enable merchants to offer both LatitudePay for transactions below $1000 and LatitudePay+ will also be able to be offered on products above a minimum threshold.
To enable LatitudePay+ or Co-Presentment:
Login inside the Admin Panel and proceed to: Modules and Services > Modules and Services > Latitude Finance Payment Module
Select LatitudePay, LatitudePay+ or Co-Presentment
You will be able to select which Payment Option you would like to offer your customers by selecting the drop-down menu under “Product”
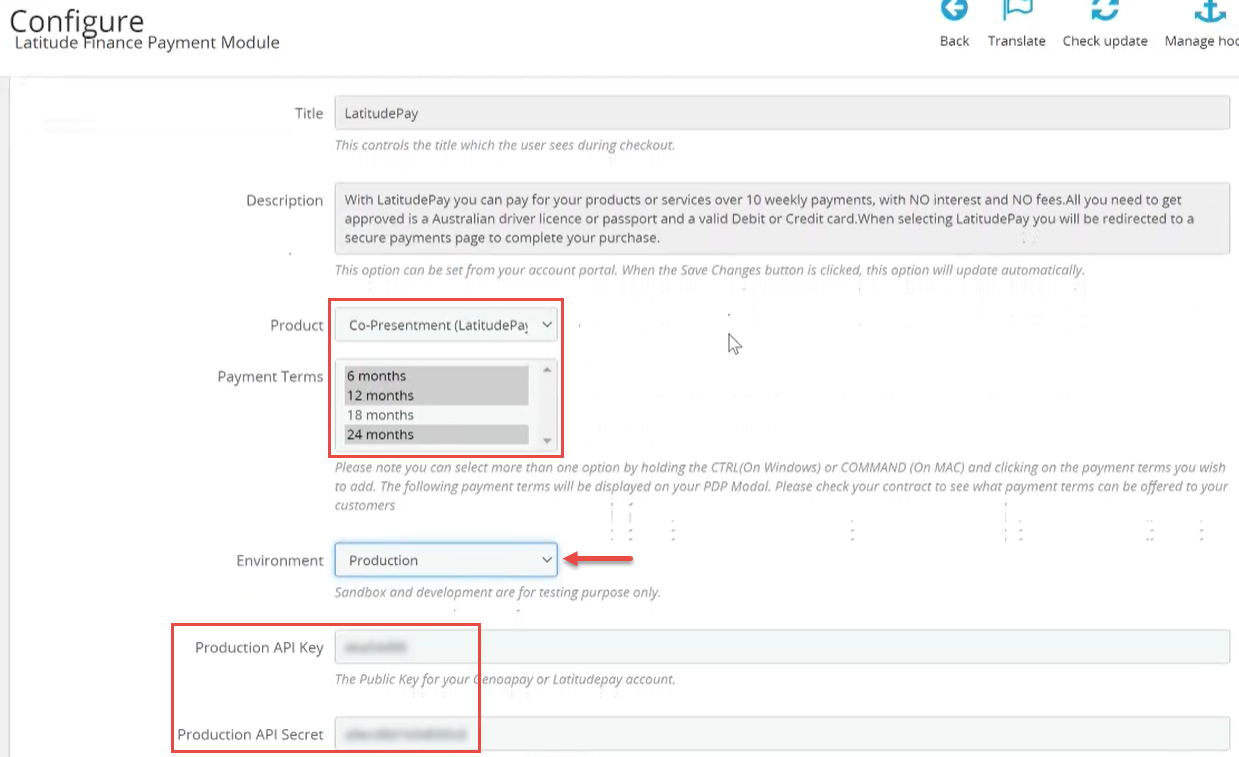
Once the Payment option is selected, you will be able to Select the Payment Terms you want to offer for your customers. Please note you can offer 4 different payment terms; 6,12,18 or 24 months. Please speak to your account manager and refer to your Merchant Contract to view which terms you have been approved to offer your customers. Please note at least one payment term will need to be selected but multiple options can be selected based on your contract. You can select multiple Payment options by holding down on Control(Windows) or Command(MAC).
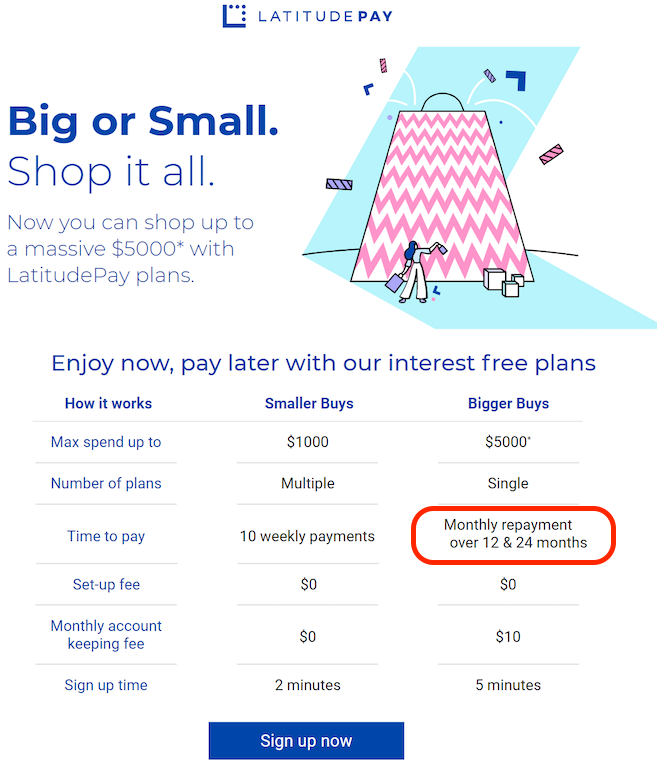
Please note that the payment terms selected will reflect on your PDP Modal and clearly will let visitors of your site know the number of months they are able to pay their transaction over. E.g If 12 & 24 months are selected in the Payment Terms section, the following information will be displayed if the Co-Presentment option is offered.
Refund an order#
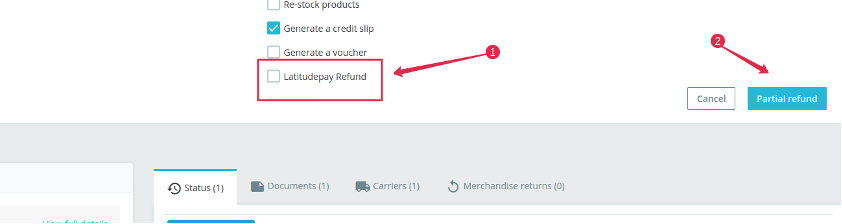
If an order was placed using LatitudePay, you should see a full refund button next to the Partial Refund one as shown below.
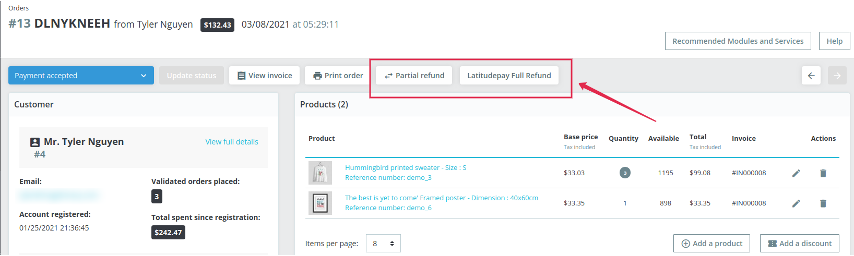
You can process a partial refund by hitting the Partial refund button. Make sure the checkbox was ticked before hitting the Partial refund button.
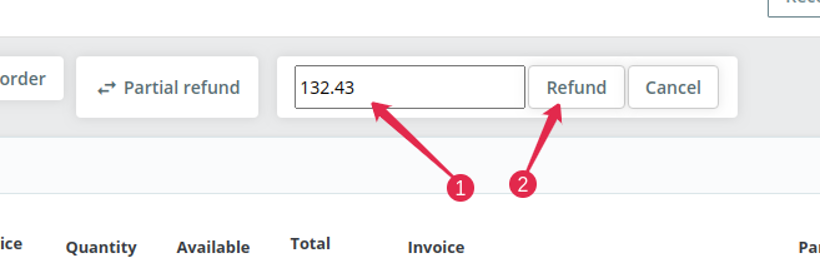
If you want to refund the amount via the Payment gateway only, you should click the Full refund button, enter the correct amount you are going to refund and hit the Refund button to process.
Uninstallation#
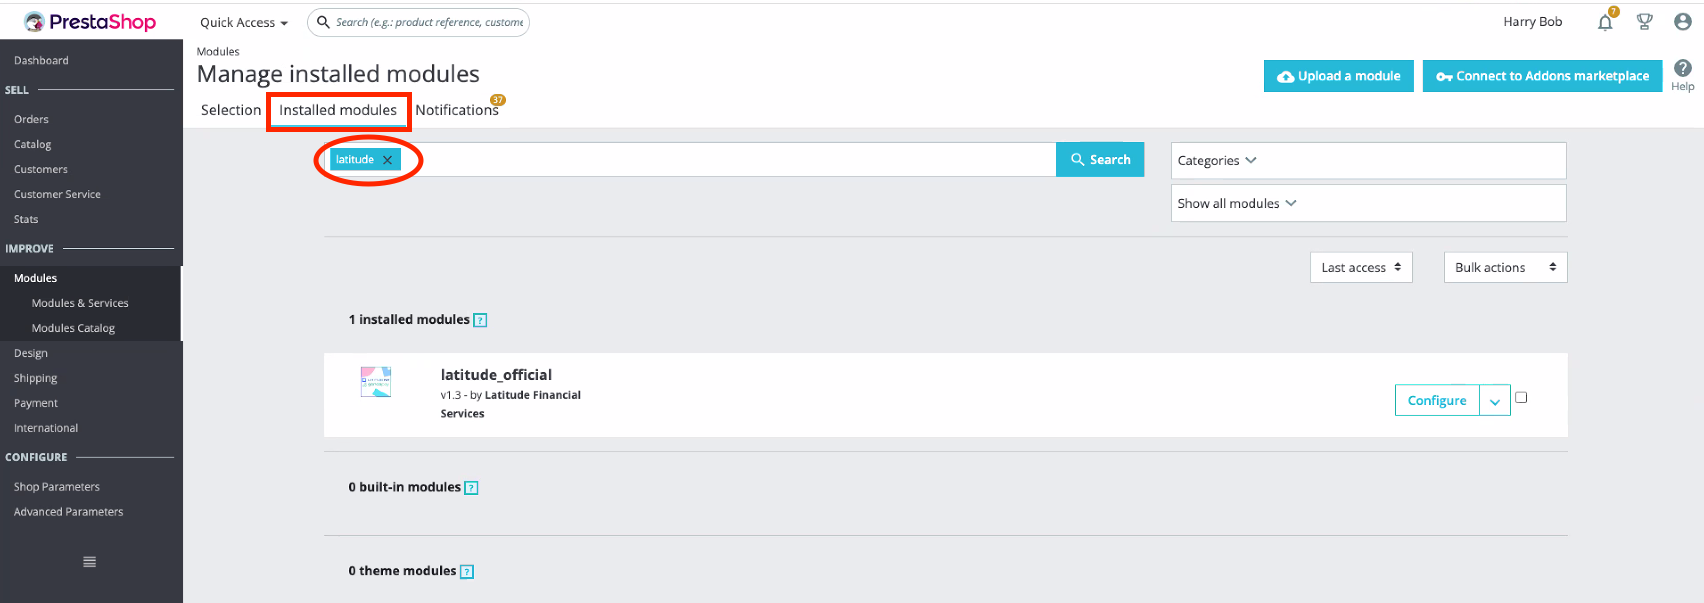
- Proceed to the PrestaShop admin panel. Select Modules and then Modules & Services from the side panel.

- This will take you to the modules settings page. Please proceed with selected the Installed Modules tab below the heading and use the search bar to search for latitude. This will now only show our plugin in the page list as shown below.
- Once you have the list filtered select the dropdown menu next to the Configure box and then select the top option for Uninstall.
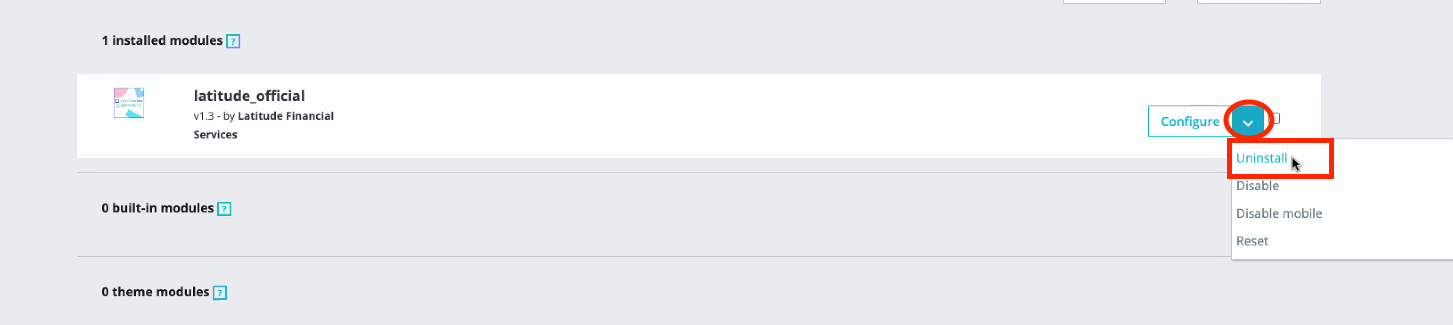
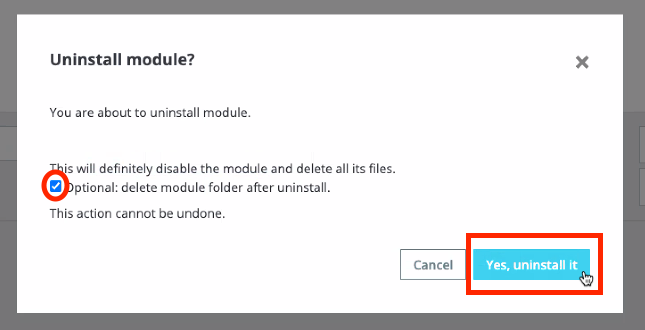
- When you select the Uninstall option, a popup box will show to confirm the uninstallation. Proceed with ticking the box and selecting the Yes, uninstall it blue button as shown below.
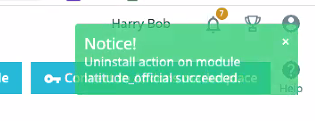
- You will see a green notification in the top right corner show for a few seconds that confirms the successful uninstallation. You will also no longer see the Latitude plugin on your site or admin portal.